In this guide we'll be going through the instances feature on the game panel regarding what they are and how to use them.
Head over to the Game Panel and stop your server.
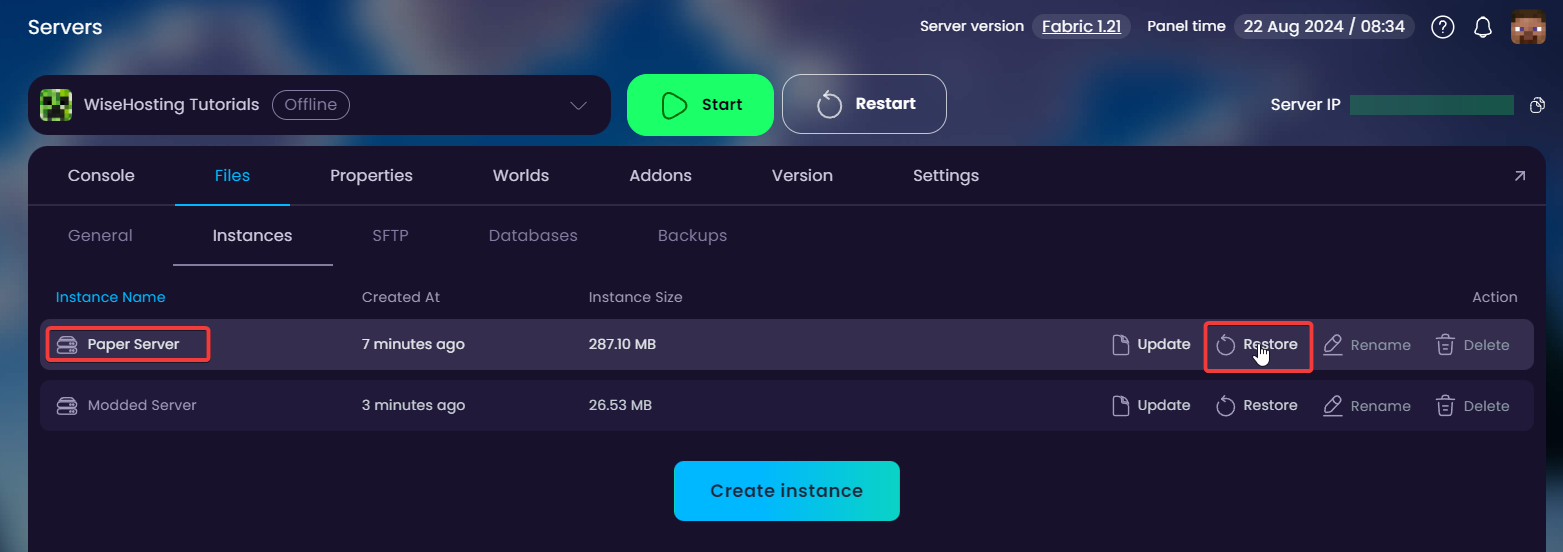
Navigate to the "Files -> Instances" tab and click on "Create Instance". This will create a copy of all the progress and files you have on the server.
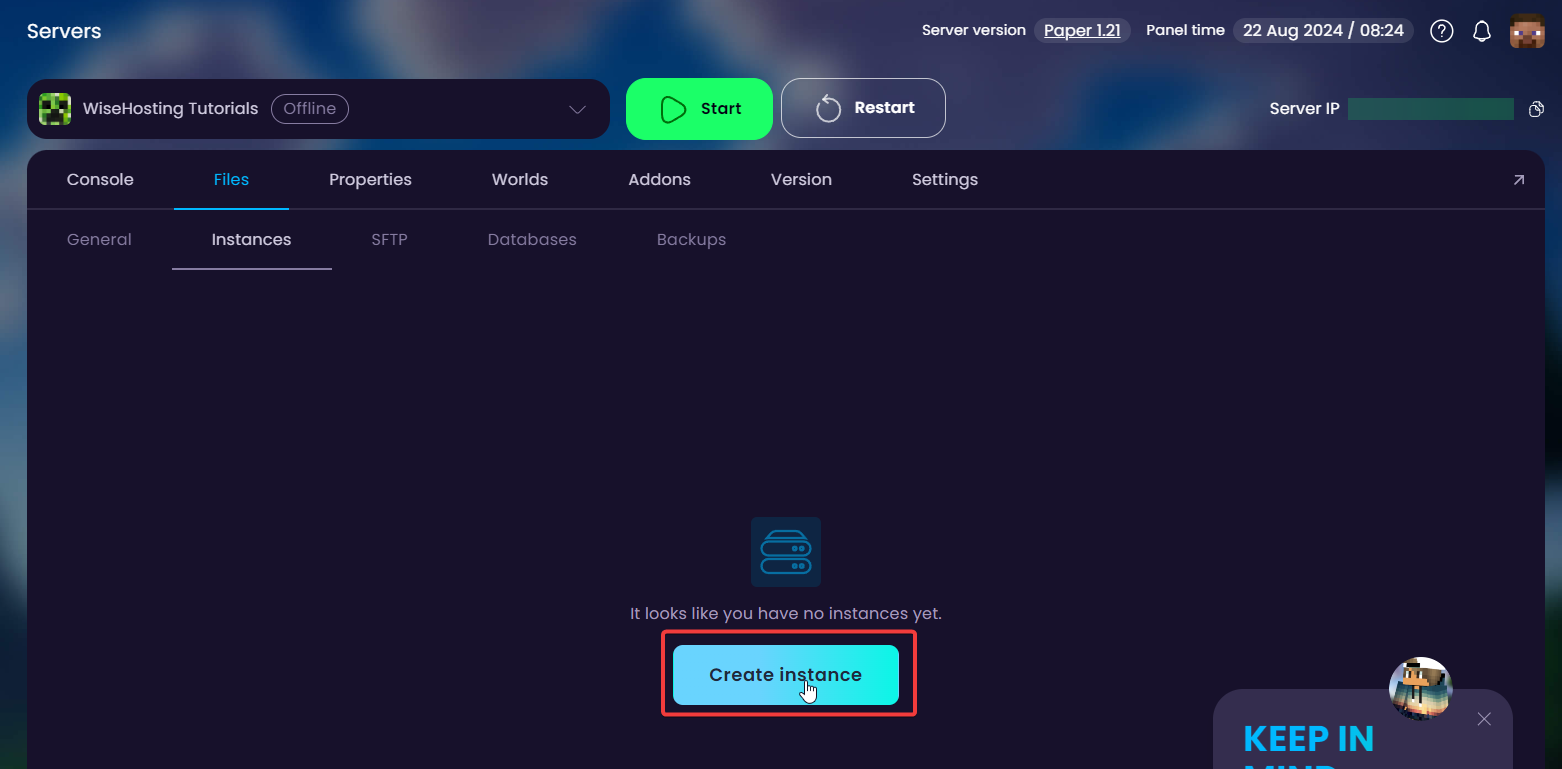
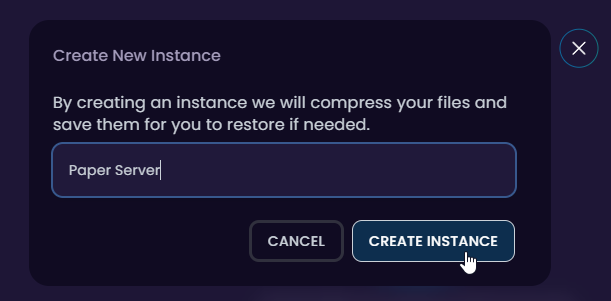
Once it has created the instance, you are able to update, restore, rename and delete it.
UPDATE: This will update all the files in the instance with the current files you have on the server. Remember to run this each time you want to change instances to save the progress.
RESTORE: This will restore the selected instance to your server.
RENAME: This allows you to rename the instance name.
DELETE: This will delete the instance entirely.

🎉 Great work, you now know how to manage your server's instances. If you have any issues or concerns, please contact us through the ticket system.
Head over to the Game Panel and stop your server.
Navigate to the "Files -> Instances" tab and update the current instance that you have active. My server is Modded, so I'm going to be updating my "Modded Server" instance.
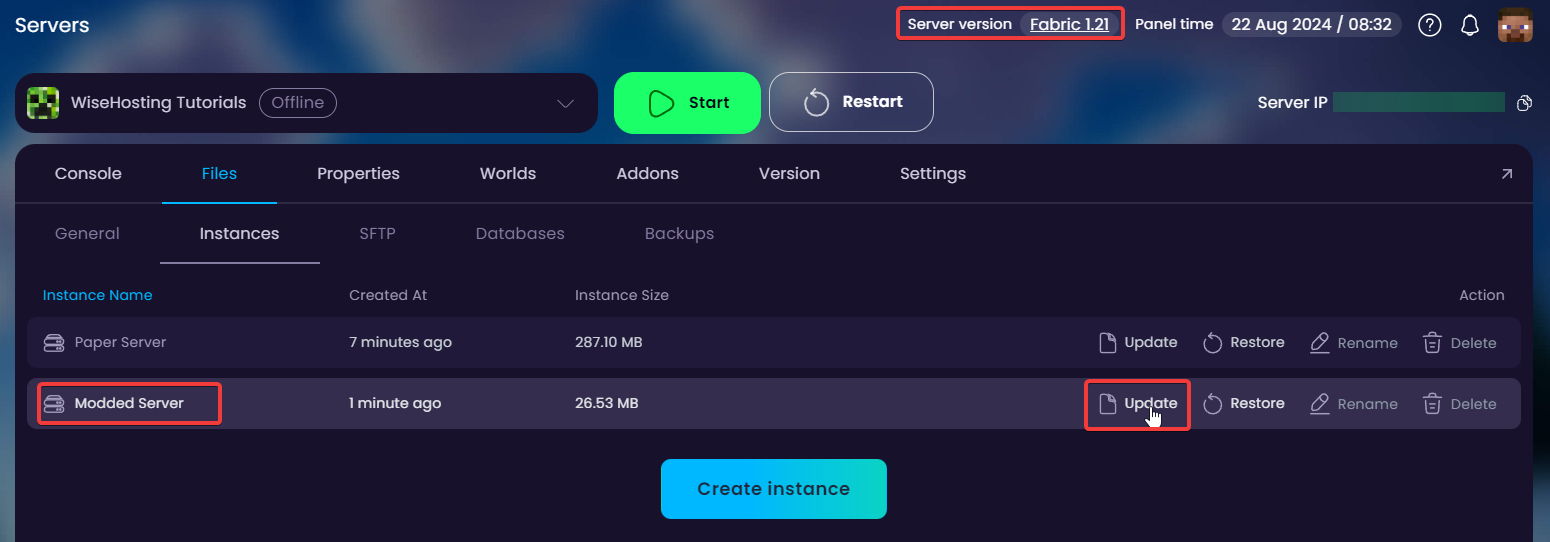
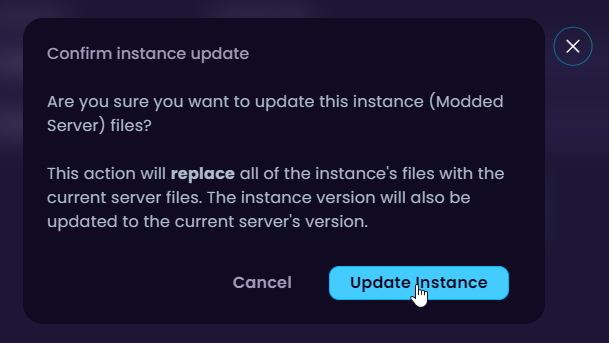
After the instance is successfully updated with the latest version of the files, I will go ahead and restore my "Paper Server" instance.
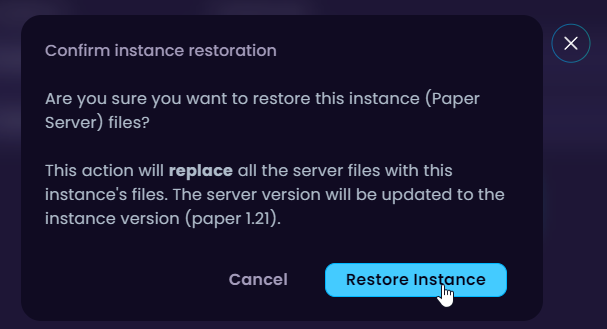
Wait for the instance to be restored and you're good to connect! Please refresh the panel (CTRL + F5) for the server version to update as well.
🎉 Congratulations, you've successfully switched between 2 servers. If you have any issues or concerns, please contact us through the ticket system.