
Log into your WiseHosting Game Panel from HERE.
On top of the console, click on Files -> Databases. This will bring up a page with a button to create a new database.
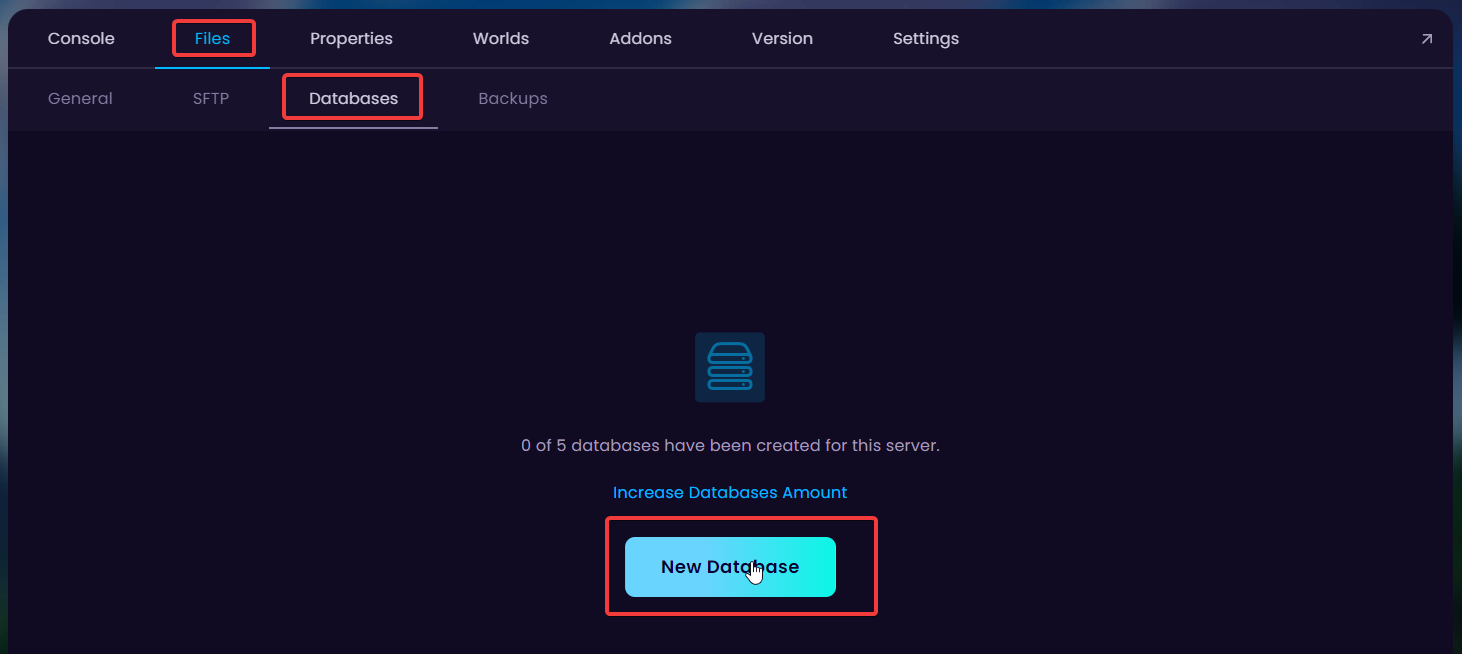
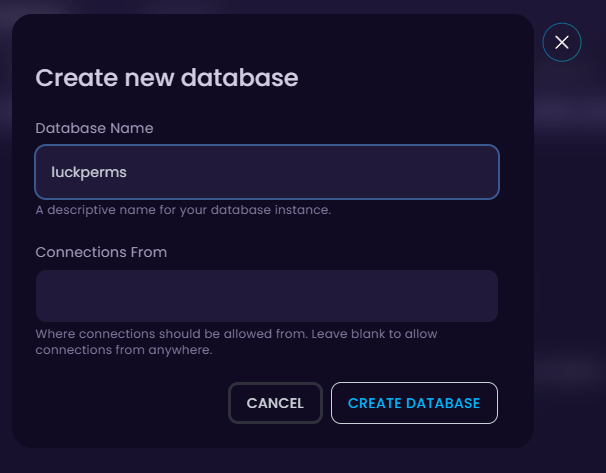
Click New Database and fill in your desired database name and where connections should be allowed from.
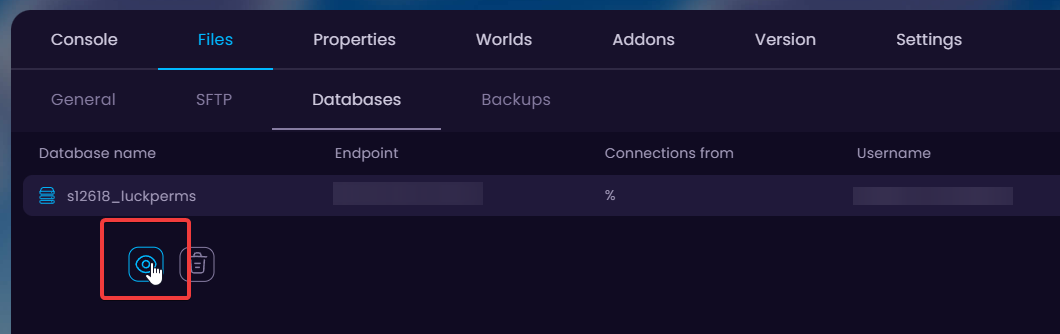
To view your database connection details click on the eye icon.
Now stop the server and install the desired plugin you'd like to use MySQL from Addons -> Plugins.
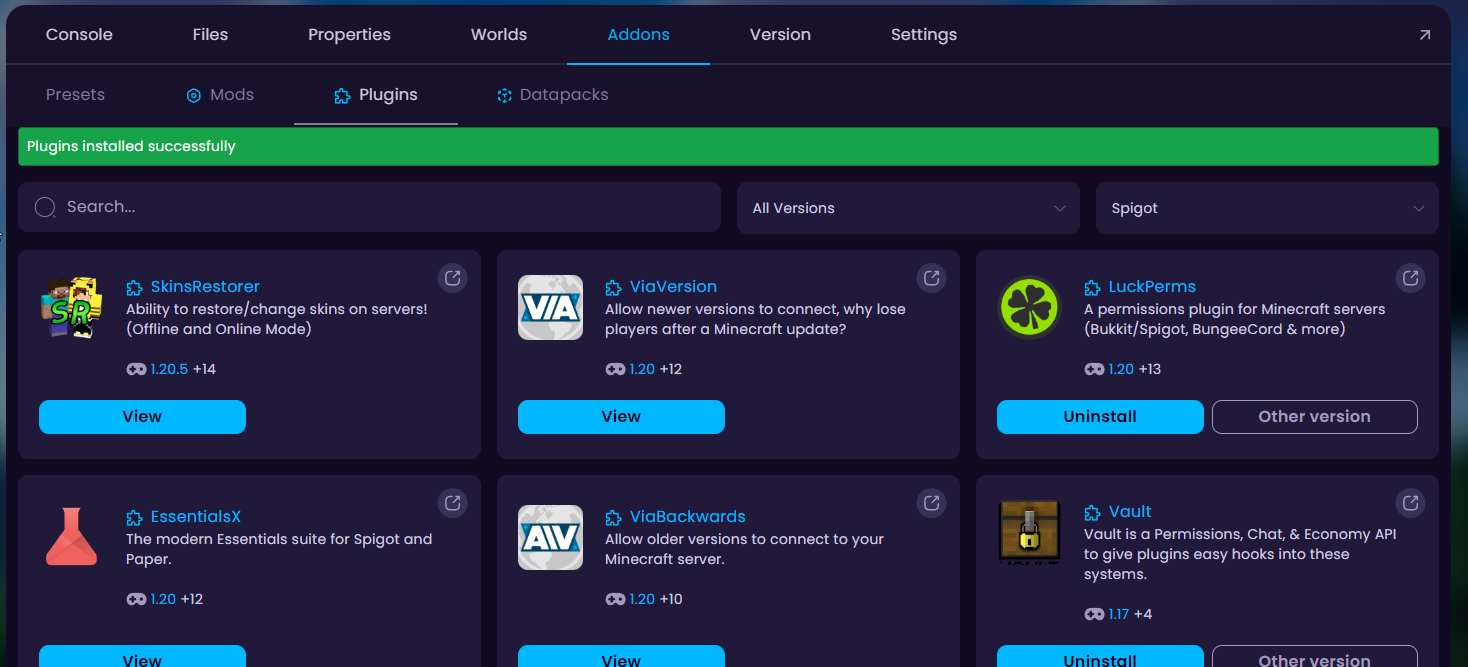
Start the server back up to finalize installing the plugins.
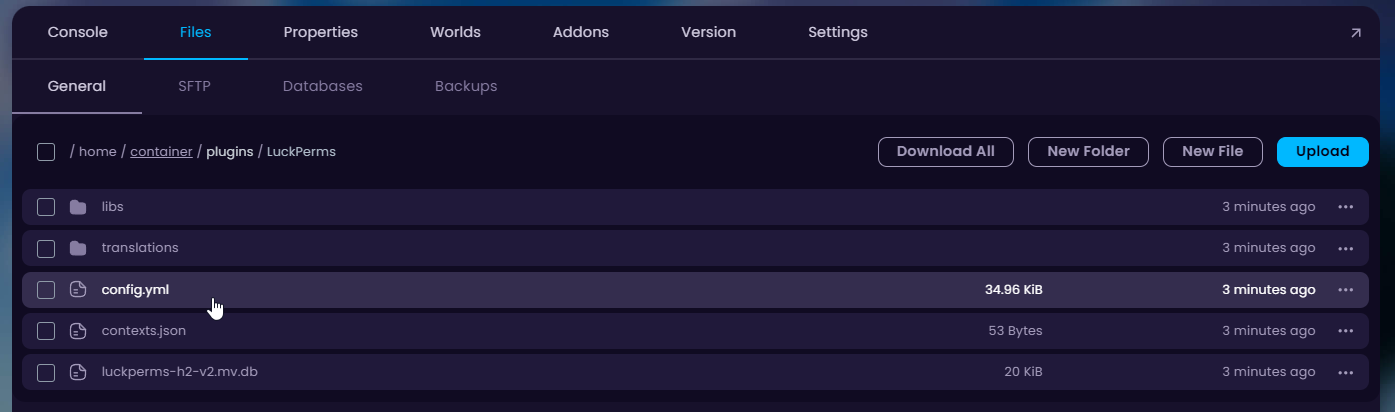
Now that you've installed the desired plugin(s) go to the Files tab and open up plugins folder.

Choose the plugin's folder that you want to add to the database and open it's config file.
You can find all the necessary info located in your database connection details.
You should fill in the plugin's configuration file as follows:
Address - Endpoint
Database - Your database Name
Username - Your database Username
Password - Your database Password

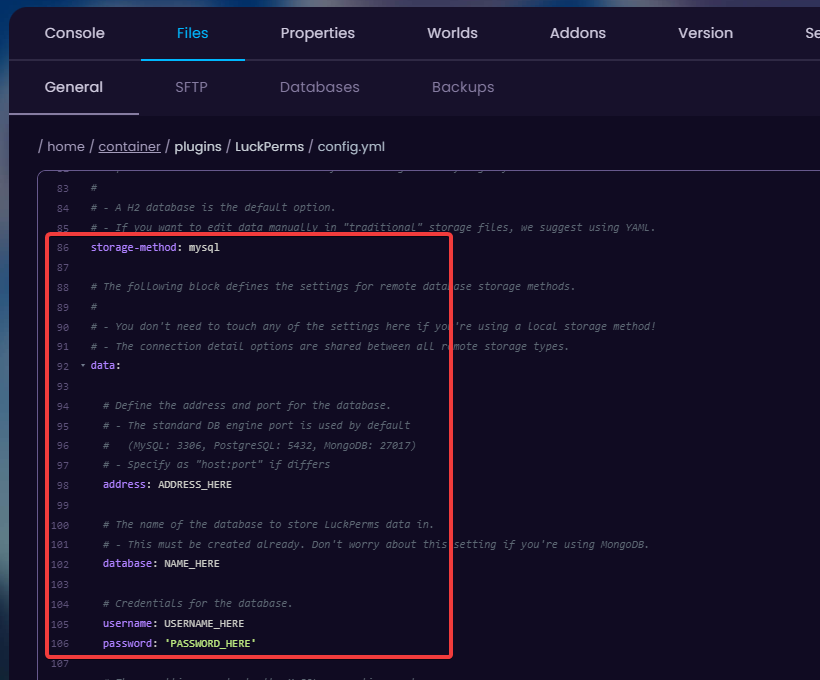
Make sure you input the details correctly. Save the data!
Resetting your database will remove all the information you have gathered from your server!
Congratulations, now your server should have MySQL set up. Feel free to start customizing the plugins!

