If you have ever wondered how to customize your server’s MOTD (Message Of The Day), then you would have probably used a similar plugin like ServerListPlus. In this guide, we will be going over how to set up and use the ServerListPlus plugin.

Head over to the Game Panel and stop your server.
Install and upload the ServerListPlus plugin into the server’s plugin folder.
Start the server to generate the plugin’s config folder.
You will know if the plugin has been successfully installed by looking at the console.

Enable ServerListPlus with the /serverlistplus enable command. You can do this in either in-game or in the console.

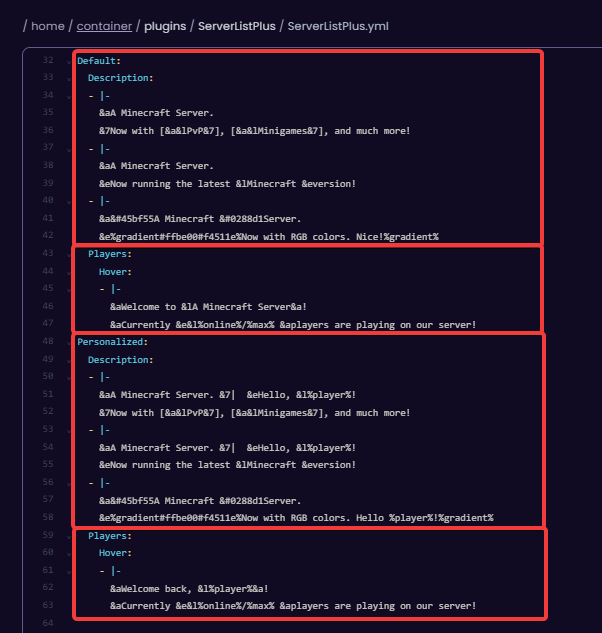
After enabling the plugin, you can start customizing the MOTD by changing the configuration of the ServerListPlus.yml file. The file can be found in the following directory: /plugins/ServerListPlus/ServerListPlus.yml.
Default block: This block has messages that are specifically for players who haven’t once joined the server.
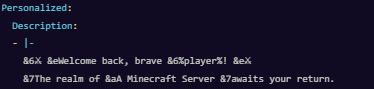
Personalized block: This block contains messages for returning players.
Player blocks: These blocks are messages that appear when hovering over the player count of the server.
Here’s an example of what you can do with the ServerListPlus plugin:

After you have configured the message to your liking, save the file and use the /serverlistplus reload command or restart the server.
You can change the server’s icon to your liking with the favicon block. For more information on that, I recommend taking a look at the Favicon wiki made by the ServerListPlus themselves, as it goes into more in-depth about Favicons.
 Congratulations, you now know how to set up and use the ServerListPlus plugin! If you have any issues or questions, please contact us through the ticket system.