The DiscordSRV plugin lets you connect your Discord chat with your Minecraft chat. It’s a powerful tool for making your server more fun and modern. This guide will show you how to install and use DiscordSRV step by step.
Head over to the Game Panel and turn off your server.
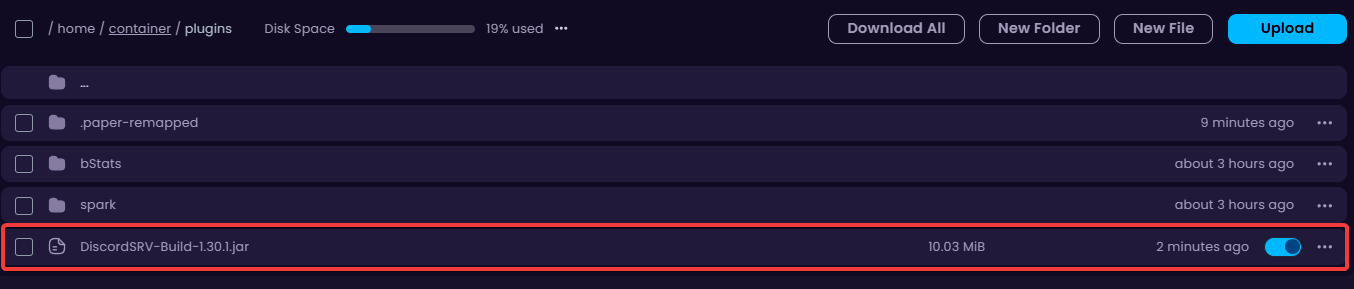
Navigate to the ‘/plugins’ folder and install the correct version of DiscordSRV for your server.
Start your server so the plugin can work.
Go to the Discord Developer Portal and create a new application.

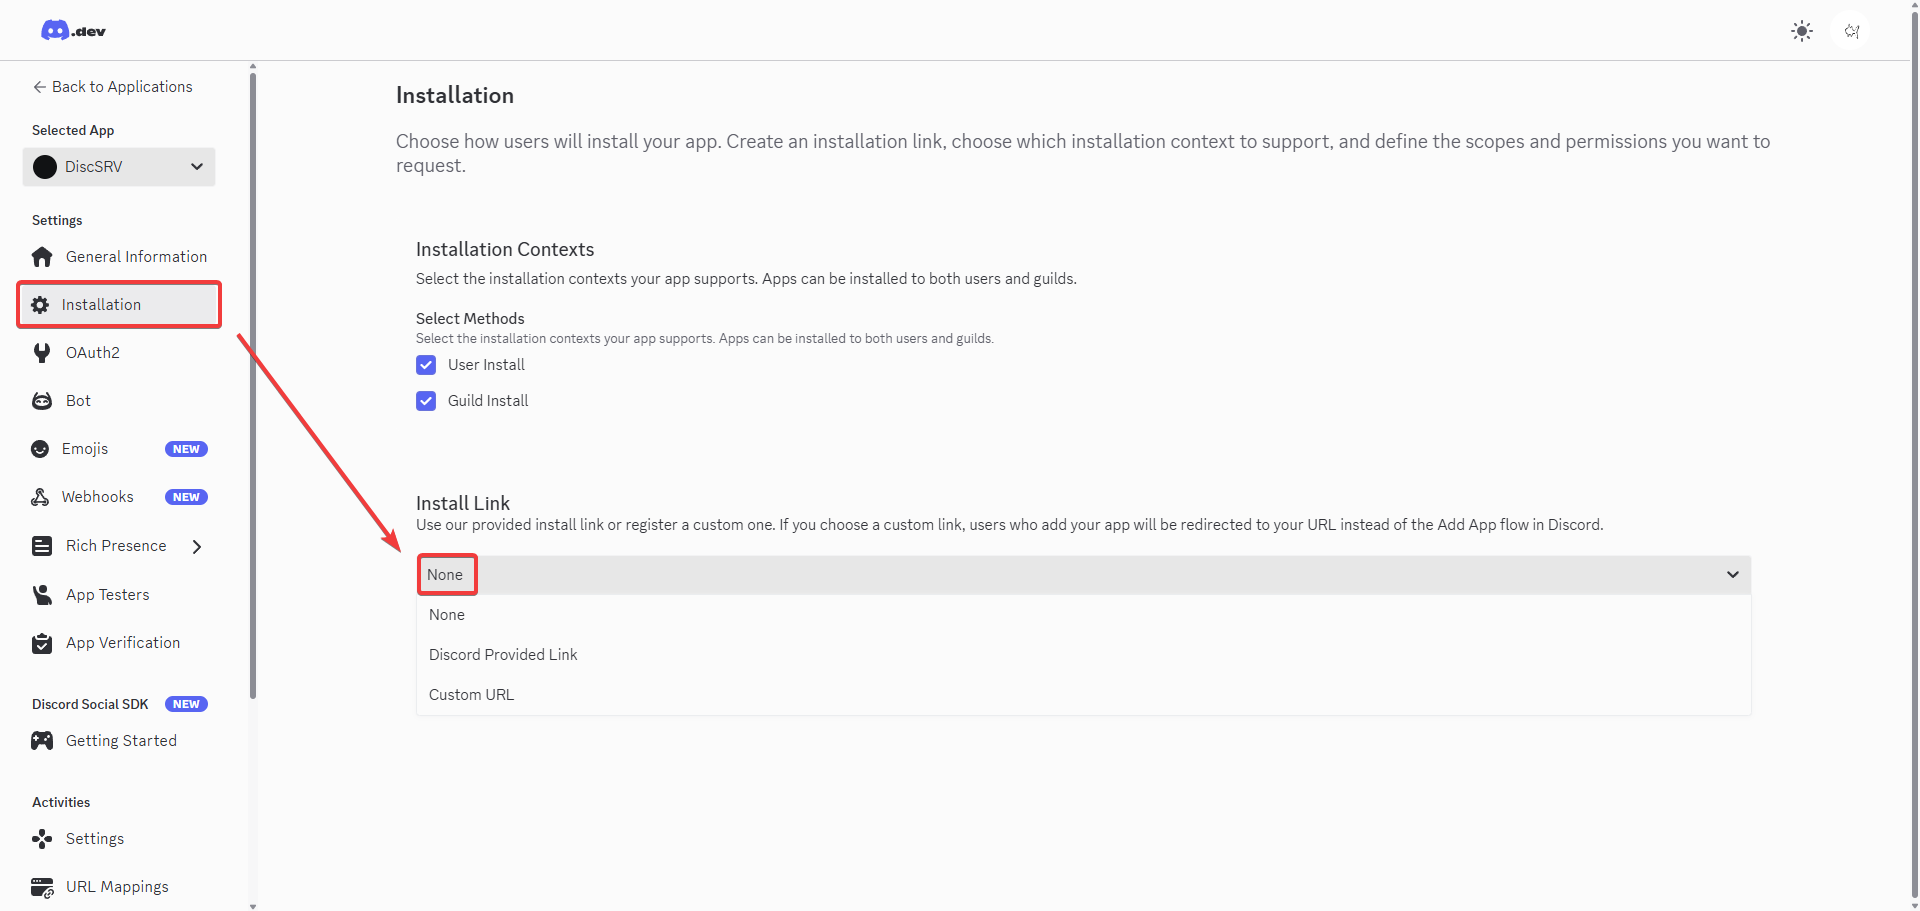
Go to Installation and change the install link to none.
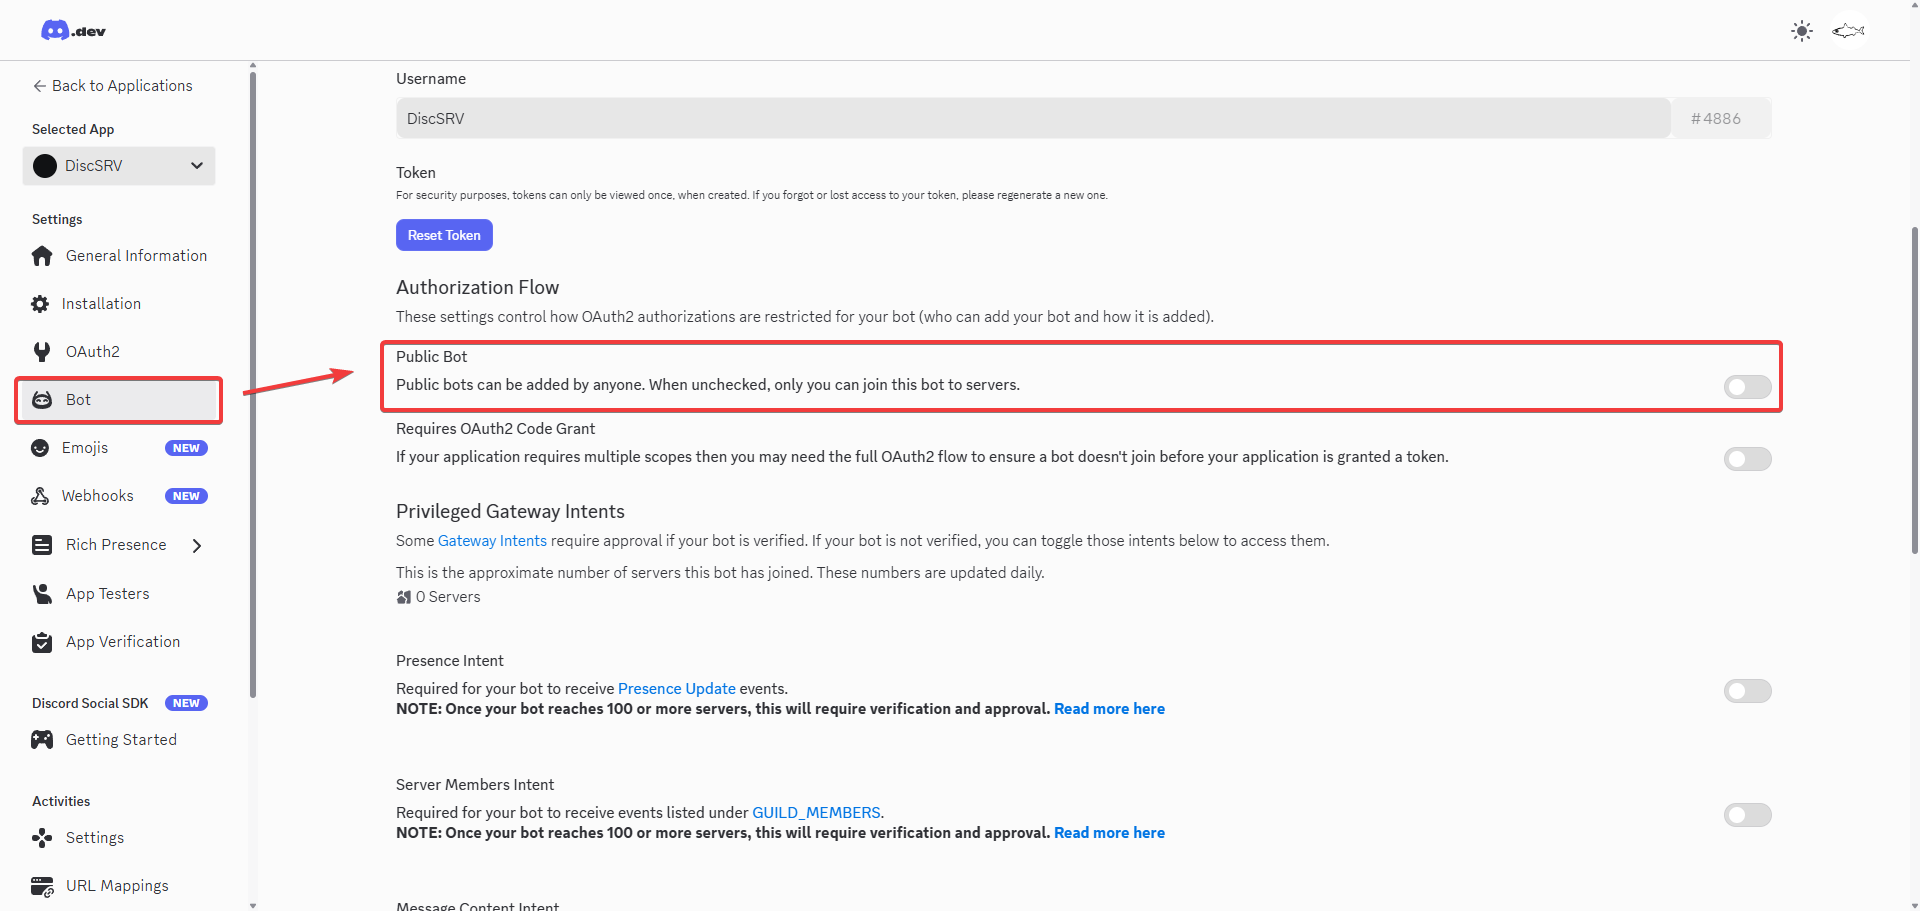
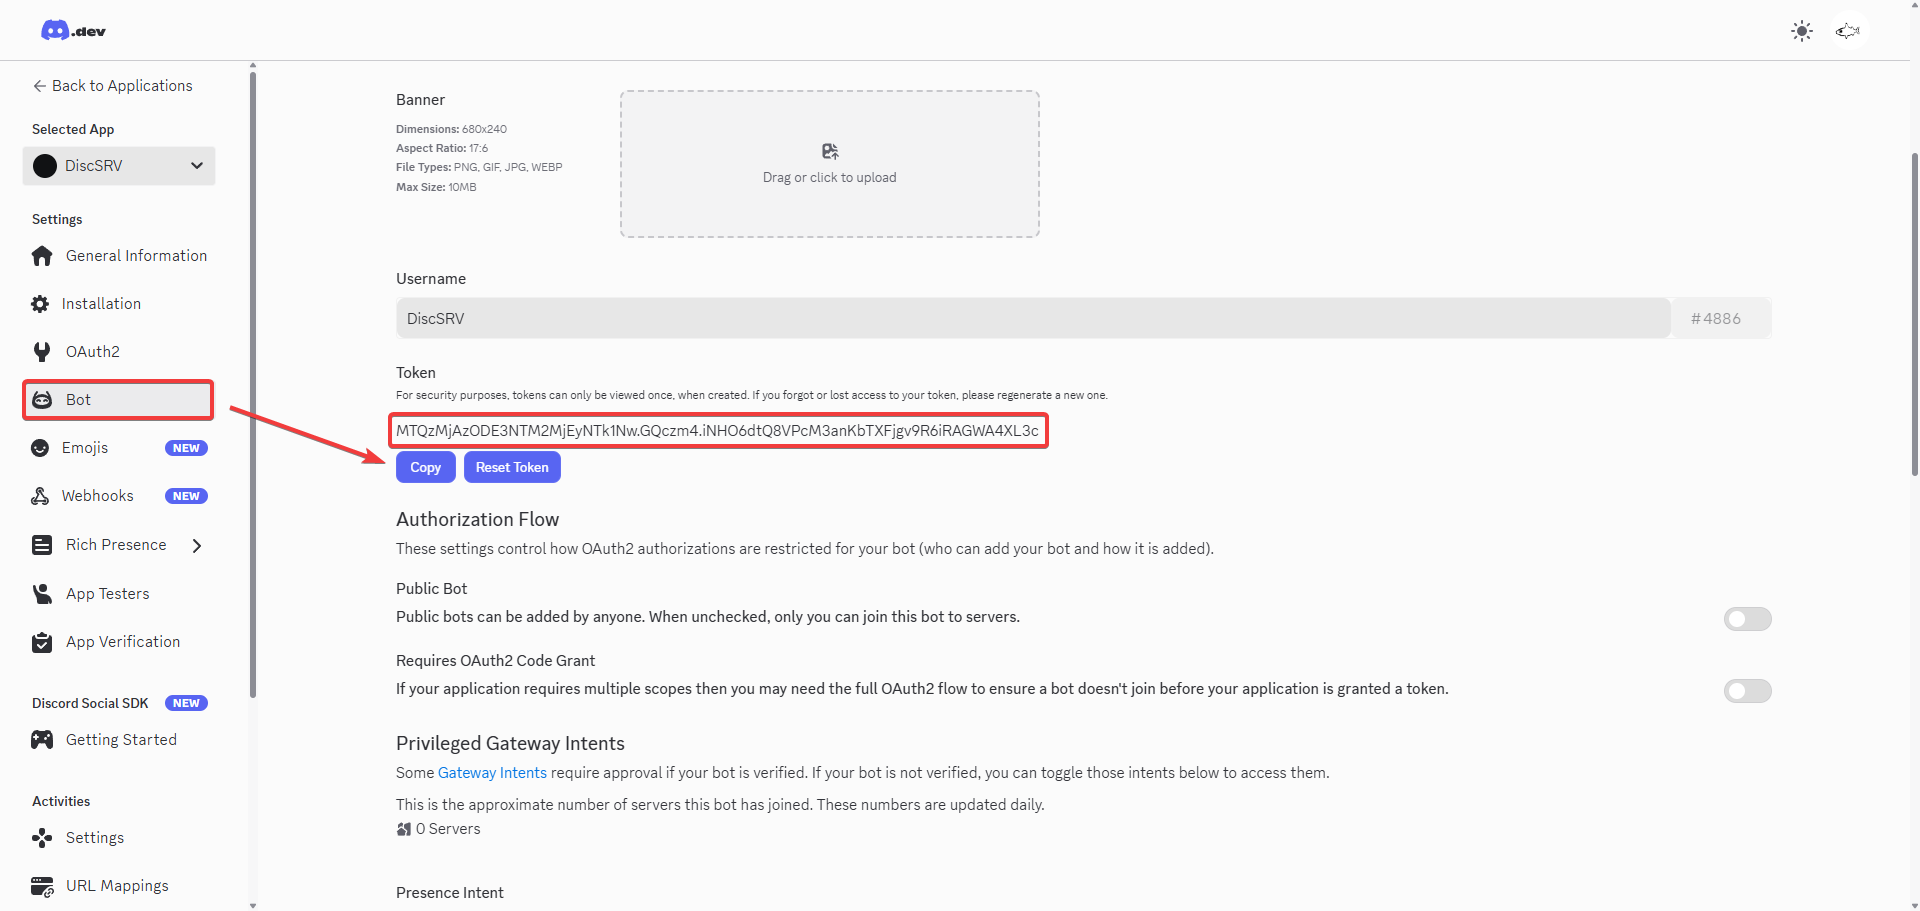
Go to Bot and make the bot private.
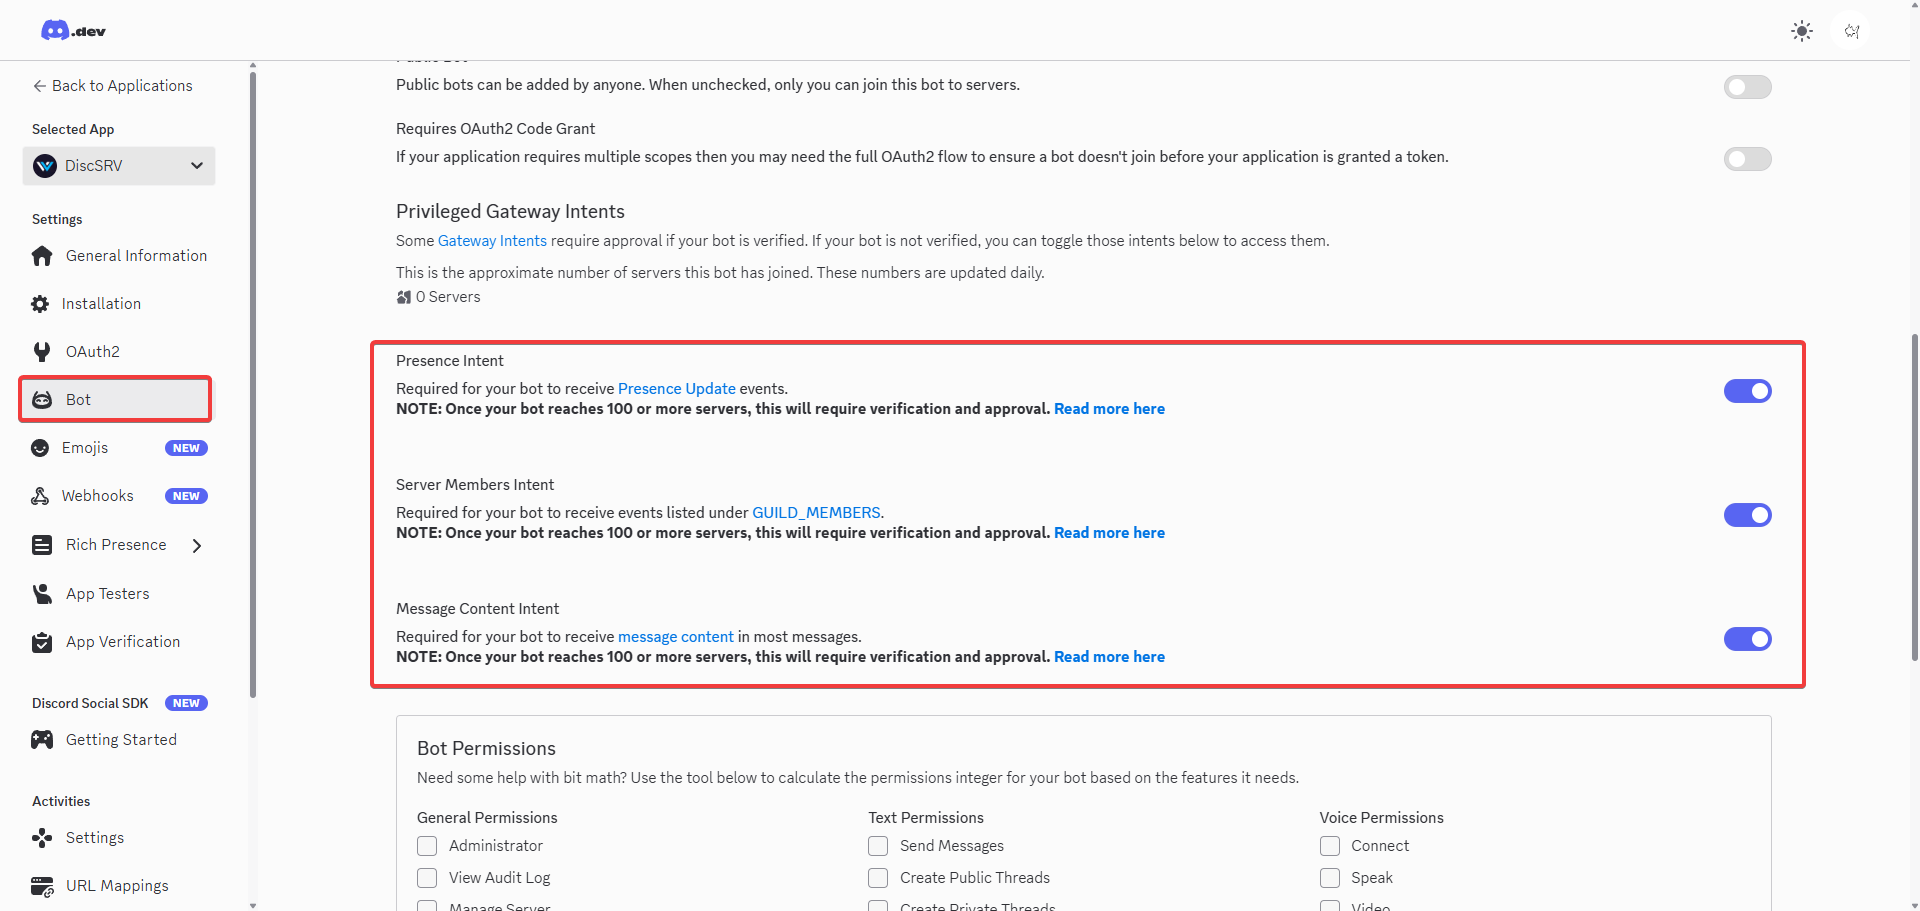
Enable Presence Intent, Server Member Intent, and Message Content Intent.
Reset the bot’s token.

Copy your bot’s new token.

Inside of the DiscordSRV config file, change the BotToken ID on line 9 to the newly generated one.
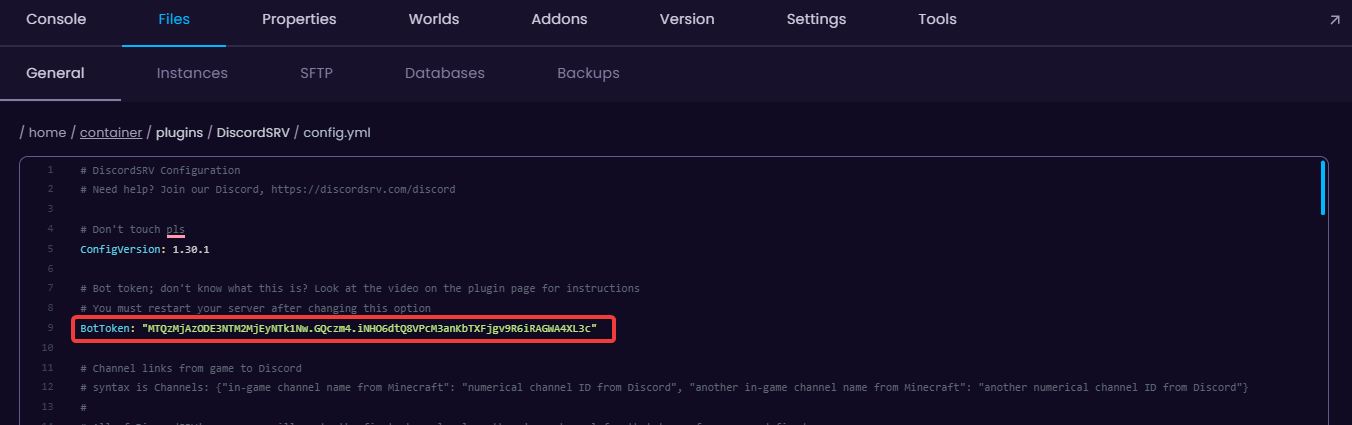
Save the config.
Go to General Information and copy the Application ID
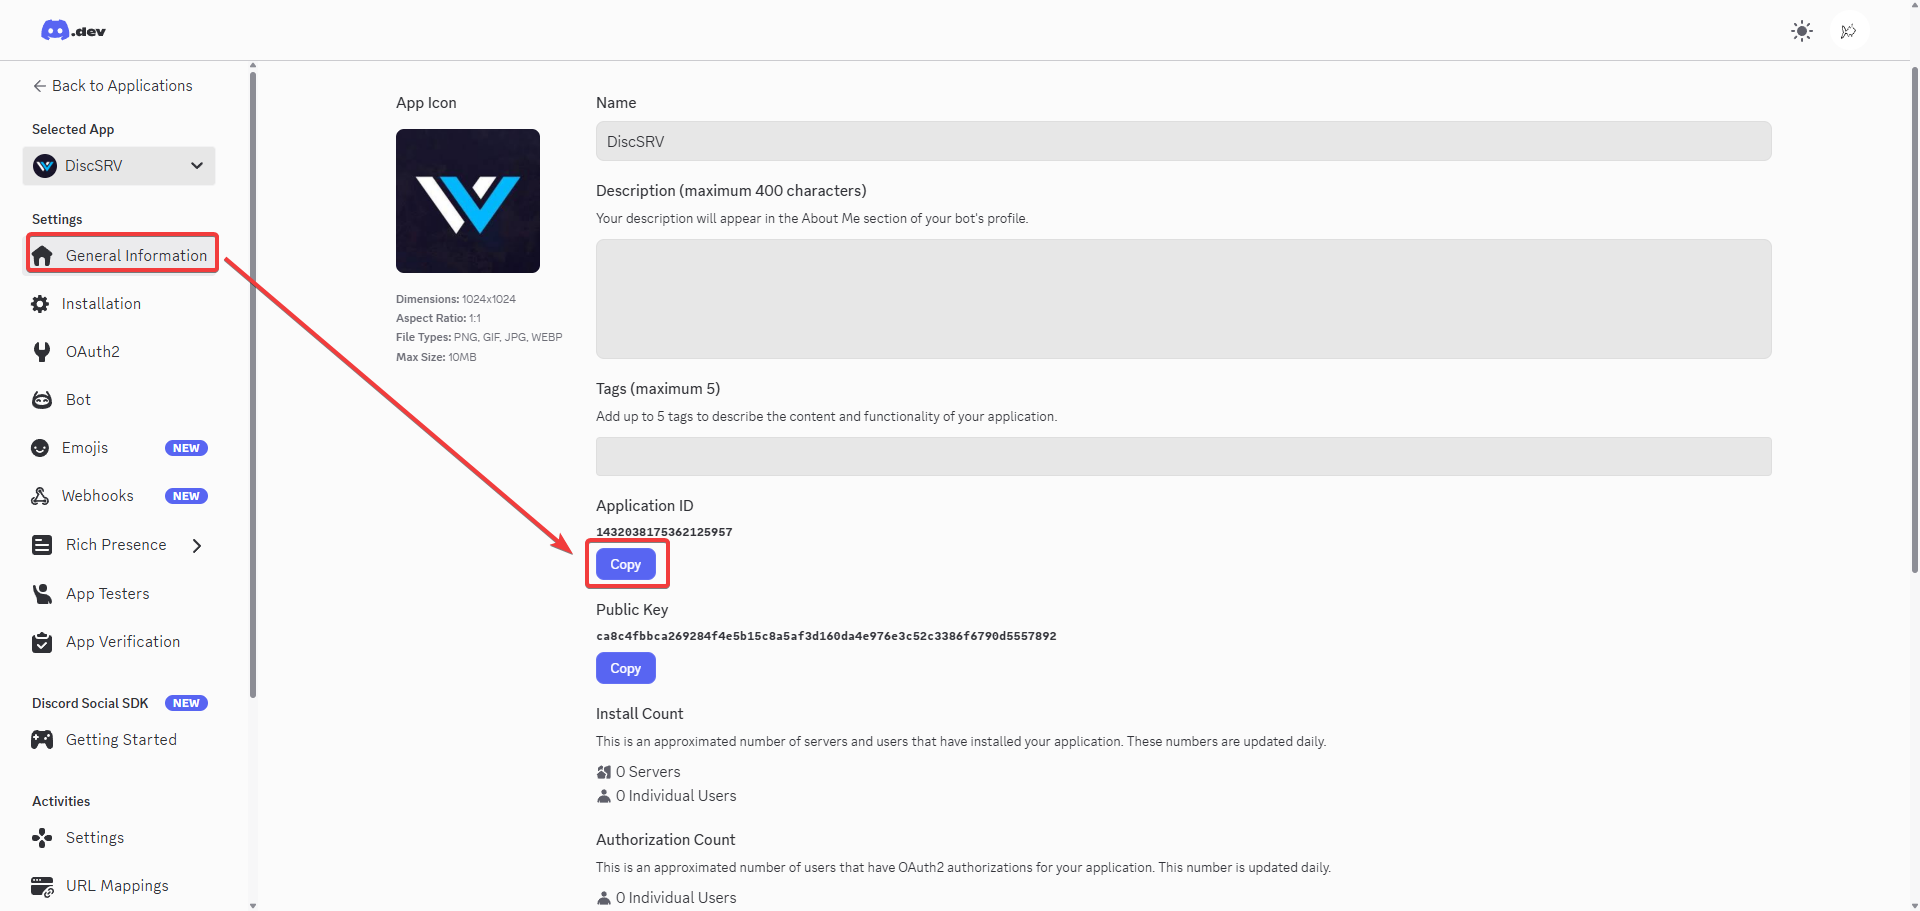
Go to the following link, but add the Application ID to the end of it: https://discordapp.com/oauth2/authorize?scope=bot+applications.commands&client_id=
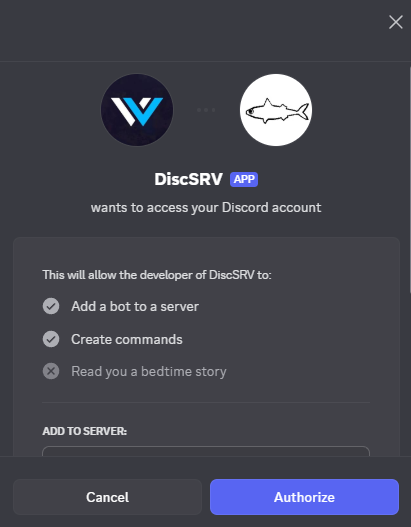
Add it to your server.
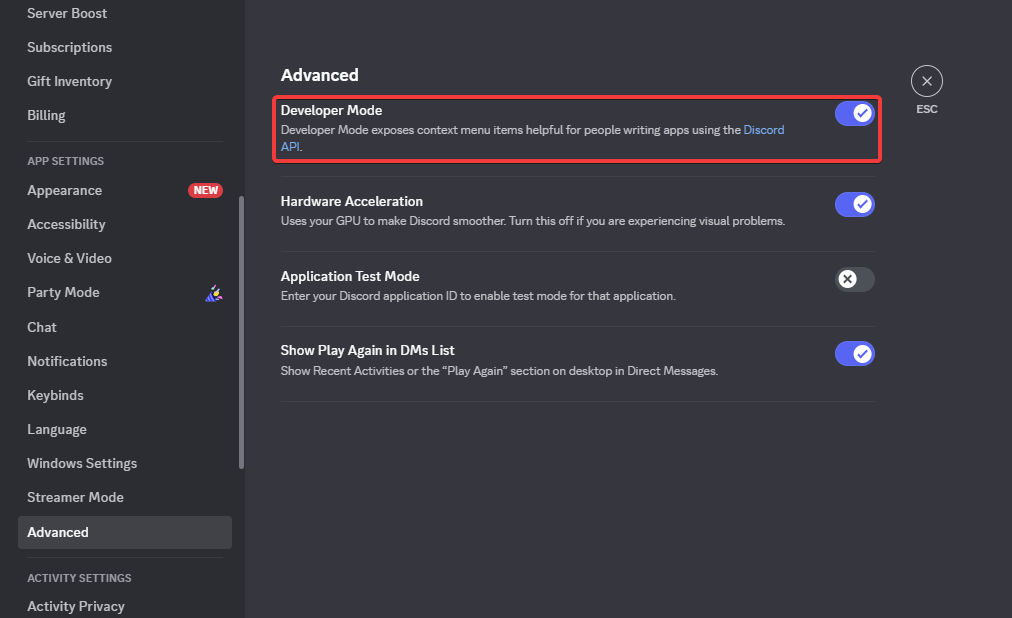
Go to your Discord settings → Advanced and enable Developer Mode
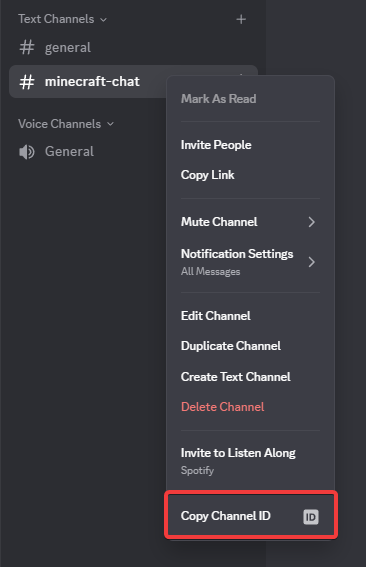
Right click on the desired Text Channel that will be used between Discord and Minecraft, and Copy the ID.
Change the ID on line 30 of config.yml to the copied one.
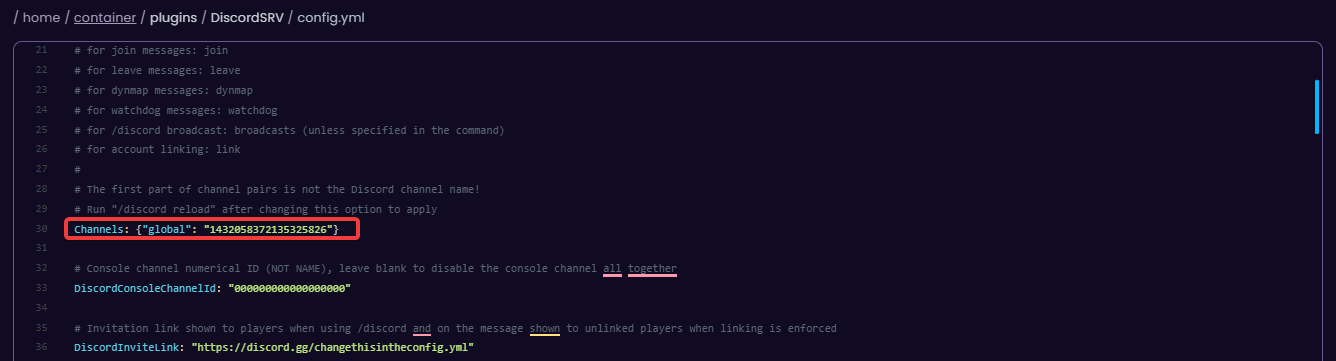
You can add more channels simply by adding , "extra_channel": "000000000000000"} at the end of line 30.
Like this: Channels: {"global": "1432058372135325826", "extra_channel": "000000000000000"}
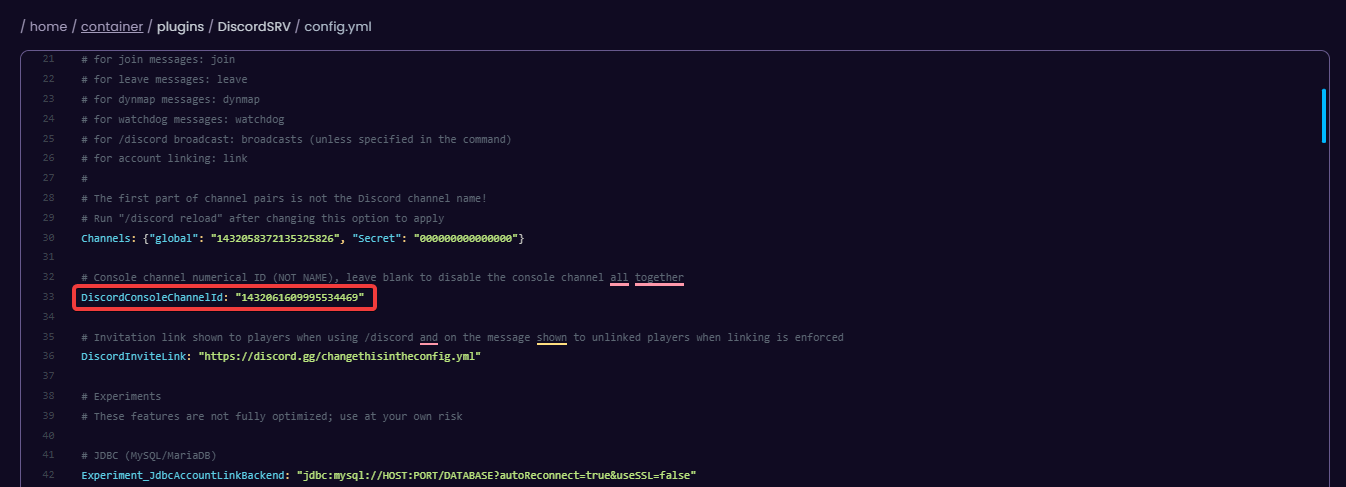
(OPTIONAL) You can have a console channel if you change the DiscordConsoleChannelId on line 33 of config.yml to a new Discord channel ID.
Create a role and give it administrator permissions.
Give the bot the newly created role.
Restart the server and enjoy!
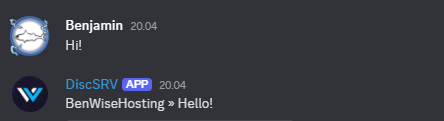
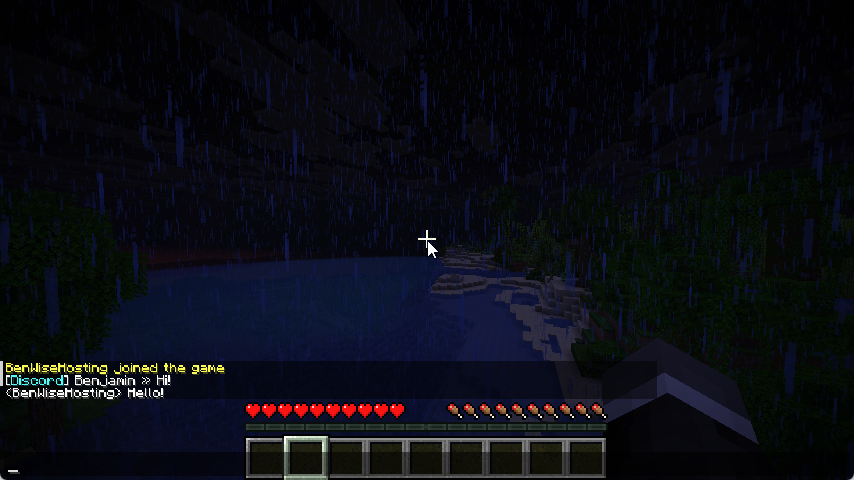
 Congratulations, you now know how to set up DiscordSRV! If you have any issues or questions, please contact us through the ticket system.