

Head over to the Game Panel and stop your server.
Download the correct version of VoiceChat plugin or mod, depending on which version your server is running.
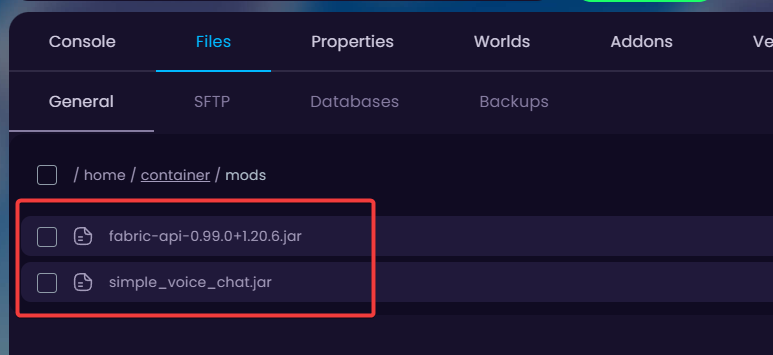
Once downloaded, navigate to the "mods" folder (Fabric/Forge) or "plugins" folder (Spigot/Paper) and upload the files there.
Start your server for Simple Voice Chat to generate the configuration files.
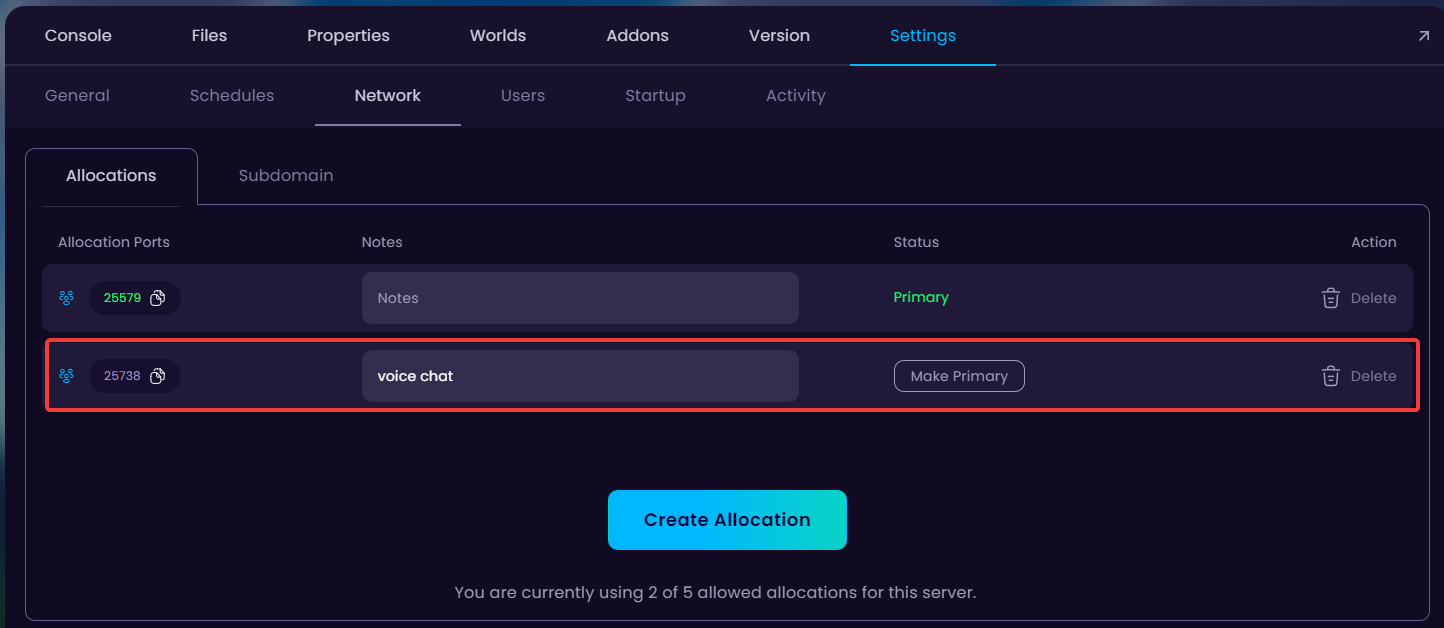
After your server has started up, navigate to the Settings -> Network tab and click on the Create Allocation -button to receive an additional port for your server. Save this port for later.
Now find the configuration file that was generated for the plugin.
PLUGINS: If you installed the plugin version of Voice Chat, open up the "plugins" folder and from there you'll find the "config" of Simple Voice Chat.
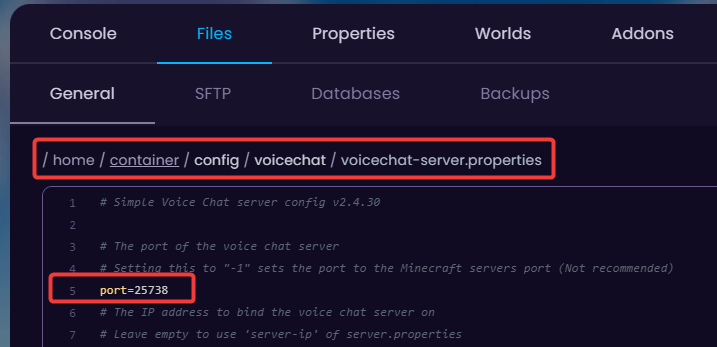
MODS: If you installed the mod version of Voice Chat, open up the voicechat folder in the "config" folder.
In the very beginning there should be the "port=xxxxx" option. Change this port to the port we generated previously and after that "Save Content" in the bottom right.
Restart your server for the changes to take effect.
 Congratulations, you've successfully added Simple Voice Chat to your server. If you have any issues or concerns, please contact us through the ticket system.

