
Head over to the Namecheap’s Dashboard and click on the “Manage” button of your domain.

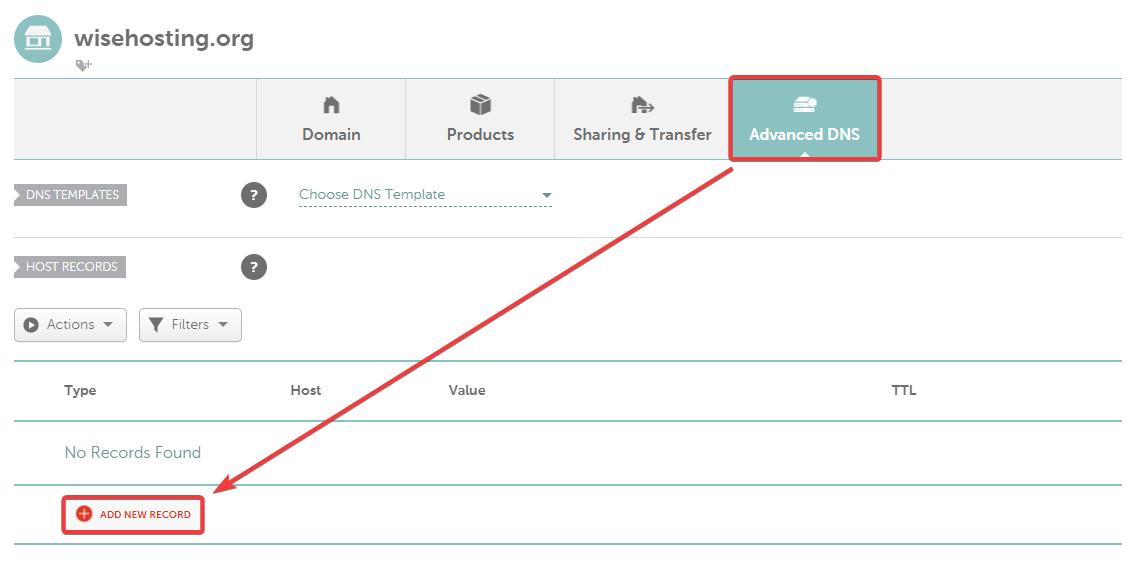
Navigate to the “Advanced DNS” page and click on the “Add New Record” button.
Insert the following details:
Type: URL Redirect Record
Host: your_subdomain - This will be the subdomain that will be used. In this case, I would want it to be map.wisehosting.org, so I write map.
Value: current_link - This will be the current link to your Bluemap’s map.
Make sure that you’ve chosen it to be “Masked”. This makes it show the domain in the browser’s bar instead of the server’s IP.

Done! It may take up to 48 hours for the DNS records to be updated globally, but in most cases it’s pretty instant.
 Congratulations, you've successfully linked a custom domain to Bluemap. If you have any issues or concerns, please contact us through the ticket system.

